


Design the Paperwing fun model with your own logo
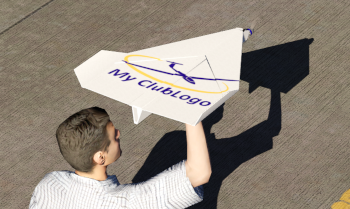 If you want to customize the Paperwing fun model with your own club logo or design, you’ll find the model’s specifications and a detailed description of the process below.
Step-by-Step Instructions
Step 1: Install the Converter
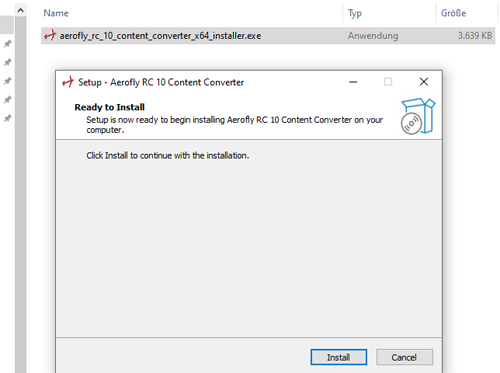 Download and unzip the RC10_converter_installer.zip for Windows. Please run the executable file in the ZIP file as an administrator and follow the further instructions to install the RC10 ContentConverter.
The second requirement is that you have already downloaded and installed the model from the RC10 user model page.
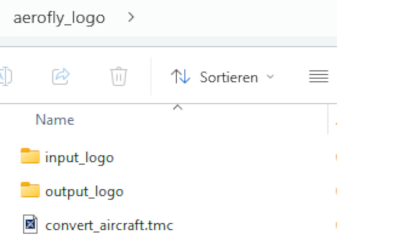 Step 2: Working folder with texture BMP
Now download and unzip the ZIP file aerofly_logo.zip. The folder can be placed on the desktop and, after unpacking, should contain the subfolders shown on the right.
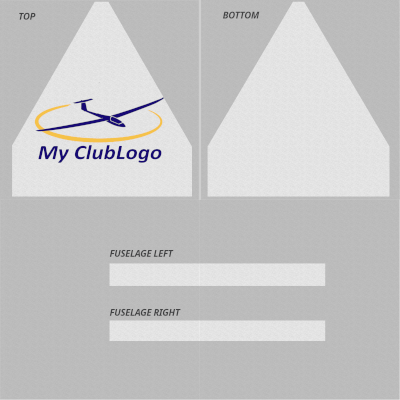 Step 3: Edit the texture BMP
Now open the paperwing_color.bmp file with a photo editing program such as Photoshop or GIMP (free) and, as shown in the example on the right, place the logo or your own design over the top of the texture. The underside and fuselage side walls can also be designed as desired. When saving the BMP, make sure that the name and dimensions (2048 x 2048 px) remain the same and that the BMP is saved with 24-bit color depth.
Step 4: Convert Texture BMP
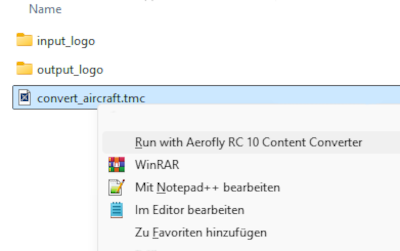
Now right-click the “convert_aircraft.tmc” file in the working folder. In the dialog box, select “Run with aeroflyRC10 Content Converter.” Under Windows 11, the command may only be visible after selecting “More Options.”
 Step 5: Move converted data
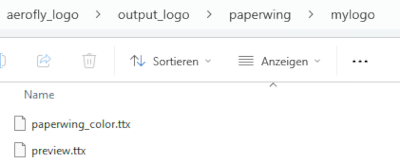
After conversion, the paperwing_color.ttx file is located in the “output_logo” path shown on the right. Now copy this file…
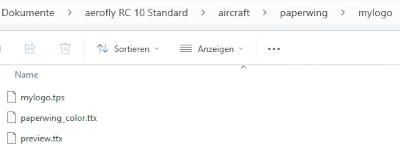
… and overwrite the existing paperwing_color.ttx file of the model. The correct path is shown in the image on the right.
The next time you start aeroflyRC10, the Paperwing model will appear with your custom design after selecting “MyLogo.”