


 If you want to create a 3D model in *.mqo format with the 3D modeling software Metasequoia, you will find the demo data of a complete model below to try out the installation of the RC10 content converter and the conversion of the 3d data. can.
Step-by-step instructions
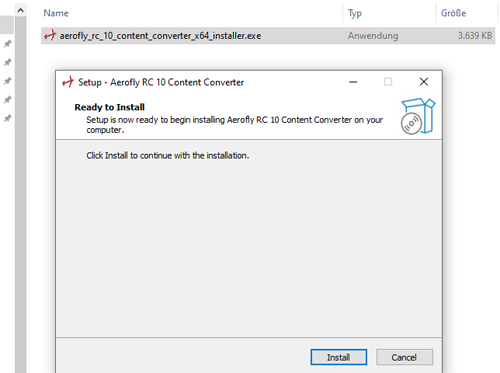 Step 1: Install the converter
Download and unpack the RC10_converter_installer.zip for Windows. Please run the exe file in the ZIP as administrator and follow the further instructions to install the RC10 ContentConverter. How to start the program later is explained in Step 5.
Step 1: Install the converter
Download and unpack the RC10_converter_installer.zip for Windows. Please run the exe file in the ZIP as administrator and follow the further instructions to install the RC10 ContentConverter. How to start the program later is explained in Step 5.
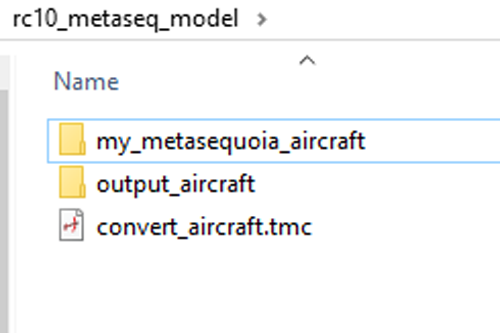 Step 2: Working folder with demo model
Now download the ZIP RC10_metaseq_model.zip and unpack it. The folder can be on the desktop and after unpacking it should contain the subfolders shown on the right.
Step 2: Working folder with demo model
Now download the ZIP RC10_metaseq_model.zip and unpack it. The folder can be on the desktop and after unpacking it should contain the subfolders shown on the right.
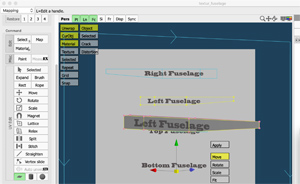
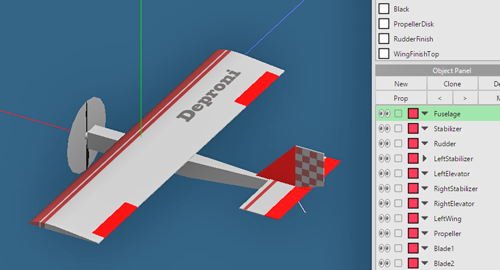 Step 3: Demo model in Metasequioa
In the unpacked ZIP, the Metasequoia file of the demo model is in the subfolder …/my_metasequioa_aircraft/my_aircraft. Open the file my_aircraft.mqo with Metasequioa for testing purposes. The model should be displayed with its textures.
Step 3: Demo model in Metasequioa
In the unpacked ZIP, the Metasequoia file of the demo model is in the subfolder …/my_metasequioa_aircraft/my_aircraft. Open the file my_aircraft.mqo with Metasequioa for testing purposes. The model should be displayed with its textures.
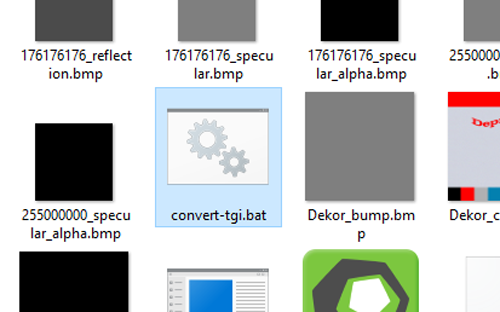 Step 4: Convert MQO file
Now double-click the file “convert-tgi.bat” in the subfolder …/my_metasequioa_aircraft/my_aircraft. A console will open briefly and as a result a file with the name “my_aircraft.tgi” should be written in the same folder.
Step 4: Convert MQO file
Now double-click the file “convert-tgi.bat” in the subfolder …/my_metasequioa_aircraft/my_aircraft. A console will open briefly and as a result a file with the name “my_aircraft.tgi” should be written in the same folder.
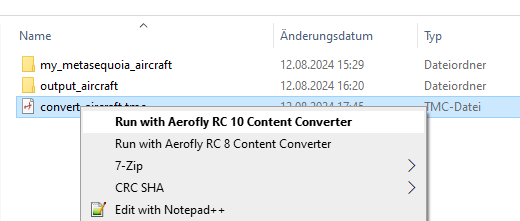 Step 5: Convert data
When the file “my_aircraft.tgi” has been created, please navigate back to the root directory “rc10_metaseq_model” and right-click the file “convert_aircraft.tmc”. In the dialog box, execute the command “Run with aeroflyRC10 Content Converter”. Under Win11, the command may only be visible after selecting “More options”.
Step 5: Convert data
When the file “my_aircraft.tgi” has been created, please navigate back to the root directory “rc10_metaseq_model” and right-click the file “convert_aircraft.tmc”. In the dialog box, execute the command “Run with aeroflyRC10 Content Converter”. Under Win11, the command may only be visible after selecting “More options”.
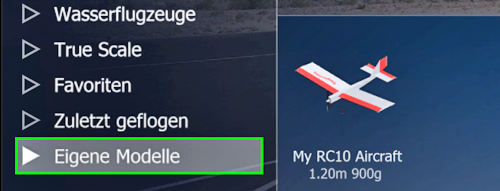 Step 6: Load model into RC10
The fully converted RC10 model folder is output to …/output_aircraft/. To be able to load the model into RC10, finally copy the entire “my_aircraft” folder and paste it into /documents/aeroflyRC10/aircraft/. The next time you start aeroflyRC10, the converted model should appear under Load model -> Your own models can be displayed and loaded.
Step 6: Load model into RC10
The fully converted RC10 model folder is output to …/output_aircraft/. To be able to load the model into RC10, finally copy the entire “my_aircraft” folder and paste it into /documents/aeroflyRC10/aircraft/. The next time you start aeroflyRC10, the converted model should appear under Load model -> Your own models can be displayed and loaded.
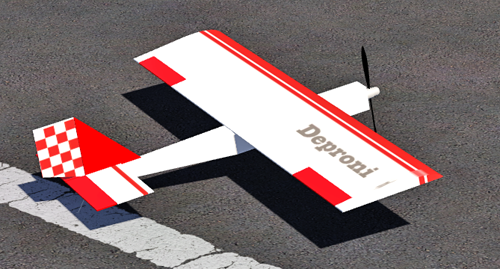
 Step 7: Create a preview image
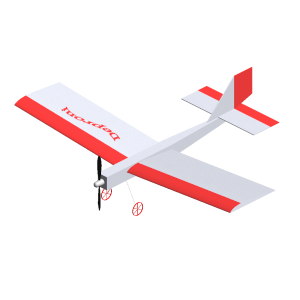
The ZIP with the demo data contains the file “preview.png” as a preview image. In the minimum case, an “arbitrary” *.png with 1024 x 1024 pixels is sufficient. If you want to stick to the exact perspective representation, create a preview image with a 45 degree rotation around the z-axis and then -30 degrees around the x-axis of the model.
Step 7: Create a preview image
The ZIP with the demo data contains the file “preview.png” as a preview image. In the minimum case, an “arbitrary” *.png with 1024 x 1024 pixels is sufficient. If you want to stick to the exact perspective representation, create a preview image with a 45 degree rotation around the z-axis and then -30 degrees around the x-axis of the model.
News from the RC8/RC9 workshop:
Video tutorial for creating a 3D model in Metasequoia
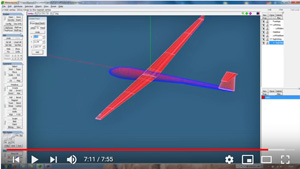 J. Hanuschik from Aerofly-Sim.de has already published a detailed video series on YouTube for the aerofly5, in which he explains how to create a model in the 3D modeling software Metasequoia. For an aeroflyRC model, you need all steps up to and including part 4. After that, you can convert the data according to 1.) on this page.
Go to the video series on YouTube
J. Hanuschik from Aerofly-Sim.de has already published a detailed video series on YouTube for the aerofly5, in which he explains how to create a model in the 3D modeling software Metasequoia. For an aeroflyRC model, you need all steps up to and including part 4. After that, you can convert the data according to 1.) on this page.
Go to the video series on YouTube
Assign a texture image to 3D objects